.gif)




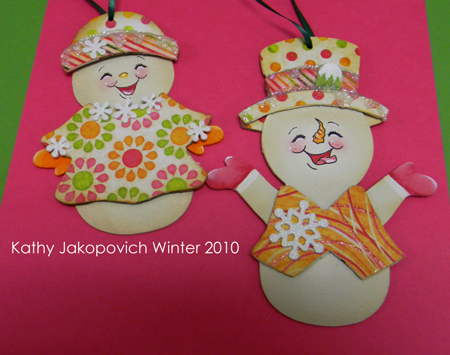
 Above is SnowKid2 in chipboard. I painted it into a ginger instead. I used our Thanksgiving Weekend Free Stamp in her belly for added fun! A little bit of bling and my super fun Americana Acrylics to add color and basecoat. I used a slightly dampened sea sponge to basecoat all of my ginger ornaments with Americana Acrylic colors: Camel, Honey Brown and Raw Sienna... I shaded the body and face by floating either Raw Sienna and / or Russet. Other colors used to paint the stamp in the belly are Lamp Black, Tangerine, Raspberry, Titanium White, Tuscany Red, Williamsburg Blue +Titianium White to shade with. The hat was painted with basecoat of Tuscany Red then shaded with Russet and highlighted with burnished Titanium White.
I also added some of the new DecoArt Glamour Dust paints for a really bright and fun shimmer. We have just added these to our site and I have to say.. I totally LOVE THEM! They come in the form of paint.. however the base of the paint is a mere tint and the shimmer from the ultra fine glitter is exceptional! I used the hot pink, orange colors of glitter on the above project.
 paper pieced and embellished chipboard penguins

Painted and embellished chipboard gingers!!
I will be back on here later today to add the links and a few more of the ornaments.. and a date for all of you to watch the HOW TO videos on YouTube :) Thank you all for joining me as followers with my BIG WHINE ... sent direct to all from Facebook! LOL.. My BAD!! :)